Install Icinga2, Icinga Web 2 and Icinga Director under EL7
Icinga2 is a very powerful monitoring system that can be used optionally with the new user interface Icinga Web 2. In comparison with Icinga 1.x, those tools have been developed completely from scratch - they have nothing in common with the legacy software stack.
This year, a configuration utility named Icinga Director has been released. It can be used to configure the whole Icinga2 stack. An intergration into Configuration Management and CMDB systems is also possible.
This article describes the basic installation of a Icinga2 system with the Icinga Web 2 UI and the additional Icinga Director module.
Installation
LVM preparation
I prefer to move MySQL databases to a dedicated hard drive with LVM. The following commands will swap out the /var/lib/mysql directory:
 1# pvcreate /dev/sdb
 2# vgcreate vg_data /dev/sdb
 3# lvcreate --name lv_mariadb --size 9G vg_data
 4# mkfs.ext4 /dev/mapper/vg_data-lv_mariadb
 5# vi /etc/fstab
 6...
 7/dev/mapper/vg_data-lv_mariadb /var/lib/mysql   ext4   defaults   1 2
 8
 9ESC ZZ
10
11# mkdir /var/lib/mysql ; mount -a
12# restorecon -v /var/lib/mysql
13restorecon reset /var/lib/mysql context system_u:object_r:unlabeled_t:s0->system_u:object_r:mysqld_db_t:s0
Package installation
The packages are installed using YUM - ensure that the EPEL repository is available to your system:
1# yum install icinga{,web}2 icinga2-ido-mysql mariadb-server mysql nagios-plugins-all icingacli php-ldap
Database
Afterwards, the Apache web server and MariaDB database are configured and enabled for autostart. At this time it is a good idea to execute mysql_secure_installation in order to configure a root password and remove unused demo content:
1# systemctl enable httpd; systemctl start httpd
2# systemctl enable mariadb ; systemctl start mariadb
3# mysql_secure_installation
4Set root password? [Y/n] Y
5Remove anonymous users? [Y/n] Y
6Disallow root login remotely? [Y/n] Y
7Remove test database and access to it? [Y/n] Y
8Reload privilege tables now? [Y/n] Y
Afterwards, dedicated databases are created for Icinga and the user authentication:
1# mysql -u root -p
2mysql> CREATE DATABASE `icinga`;
3mysql> CREATE DATABASE `icinga-auth`;
4mysql> GRANT SELECT, INSERT, UPDATE, DELETE, DROP, CREATE VIEW, INDEX, EXECUTE ON `icinga`.* TO 'icinga'@'localhost' IDENTIFIED BY '...';
5mysql> GRANT SELECT, INSERT, UPDATE, DELETE, DROP, CREATE VIEW, INDEX, EXECUTE ON `icinga-auth`.* TO 'icinga'@'localhost' IDENTIFIED BY '...';
6mysql> FLUSH PRIVILEGES;
Make sure to import the database schema:
1# mysql -u root -p icinga < /usr/share/icinga2-ido-mysql/schema/mysql.sql
Features
Icinga2 is modular and supports altering the feature set by enabling/disabling modules. The following command controls features:
1# icinga2 feature list
2Disabled features: command compatlog debuglog gelf graphite icingastatus ido-mysql livestatus opentsdb perfdata statusdata syslog
3Enabled features: api checker mainlog notification
The commands lists available and enabled features. We need to enable the following features:
ido-mysql- MySQL database broker, stores status information, necessary for Icinga Web 2perfdata- captures performance data (e.g. speed of HTTP requests) of monitored services if supportedcommand- enables external commands, necessary for well-known Nagios plugins
After enabling features, Icinga2 needs to be restarted.
1# icinga2 feature enable ido-mysql
2# icinga2 feature enable perfdata
3# icinga2 feature enable command
Before Icinga2 is started for the first time, the IDO broker configuration needs to be altered. Connection information of the Icinga database need to be entered:
1# vi /etc/icinga2/features-available/ido-mysql.conf
2library "db_ido_mysql"
3
4object IdoMysqlConnection "ido-mysql" {
5  user = "icinga"
6  password = "xxx"
7  host = "localhost"
8  database = "icinga"
9}
Another tipp regarding clarity - I decided to create dedicated sub-folders for configuration files. Icinga2 stores all configuration files in the /etc/icinga2/conf.d directory. For bigger installations it might be a good idea to store customized hosts, checks and commands in a dedicated sub-folder. Ensure that these folder is owned by the Icinga user:
1# mkdir /etc/icinga2/conf.d/stankowic.d
2# chown icinga: /etc/icinga2/conf.d/stankowic.d
Afterwards, Icinga2 can be started and enabled for autostart:
1# systemctl enable icinga2 ; systemctl start icinga2
If you are using SELinux, ensure to create and install the appropriate modules:
1# yum install icinga2-selinux selinux-policy-devel
2# /usr/share/doc/icinga2-selinux-*/icinga2.sh
Icinga Web 2
Before Icinga Web 2 can be installed, the local timezone needs to be entered in the PHP configuration, e.g. for Germany:
1# cp /etc/php.ini /etc/php.ini.initial
2# vi +/date.timezone /etc/php.ini
3...
4date.timezone = Europe/Berlin
5
6ESC ZZ
7
8# systemctl restart httpd
Afterwards, a SELinux flag needs to enabled and the Apache user should be added to the icingacmd group to enable controlling Icinga2:
1# setsebool -P httpd_unified 1
2# usermod -a -G icingacmd apache
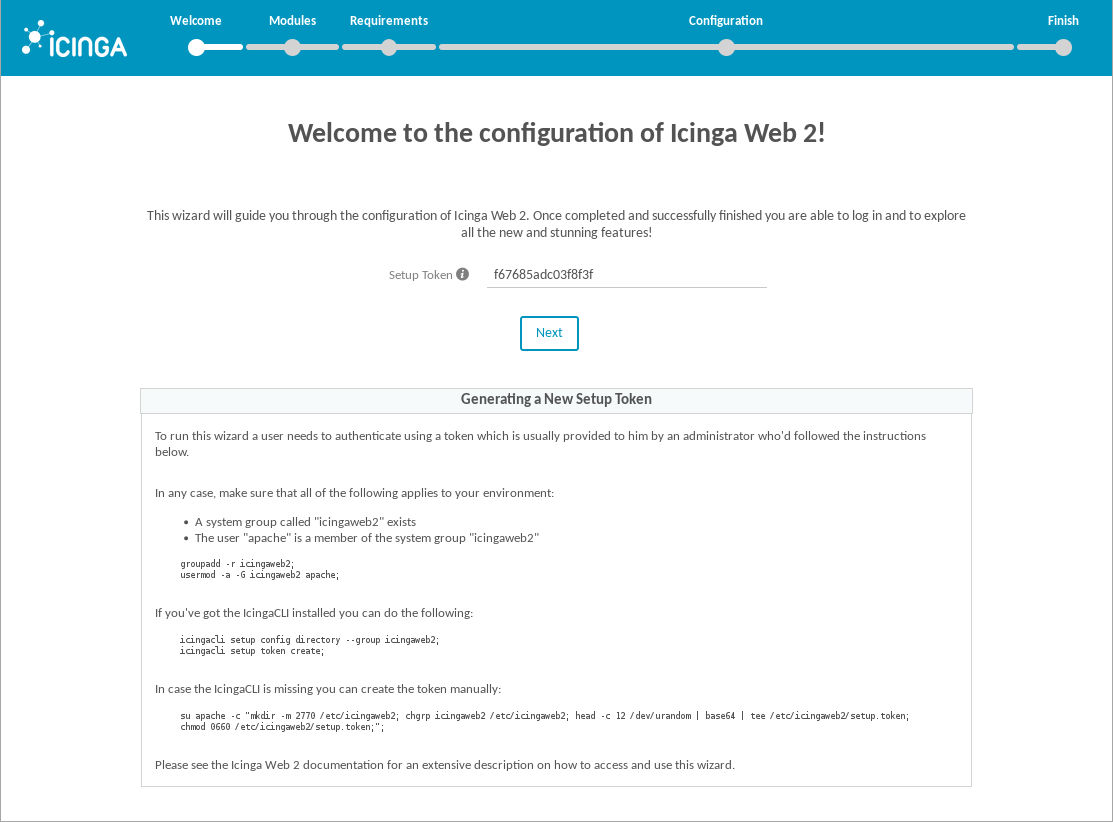
To start the installation, a token needs to be created - it will be used in the installation assistant in the next step. The assistant can be accessed using the URL http://meinServer/icingaweb2/setup:
1# icingacli setup config directory --group icingaweb2
2# icingacli setup token create
3The newly generated setup token is: 95f454f8bde828a3
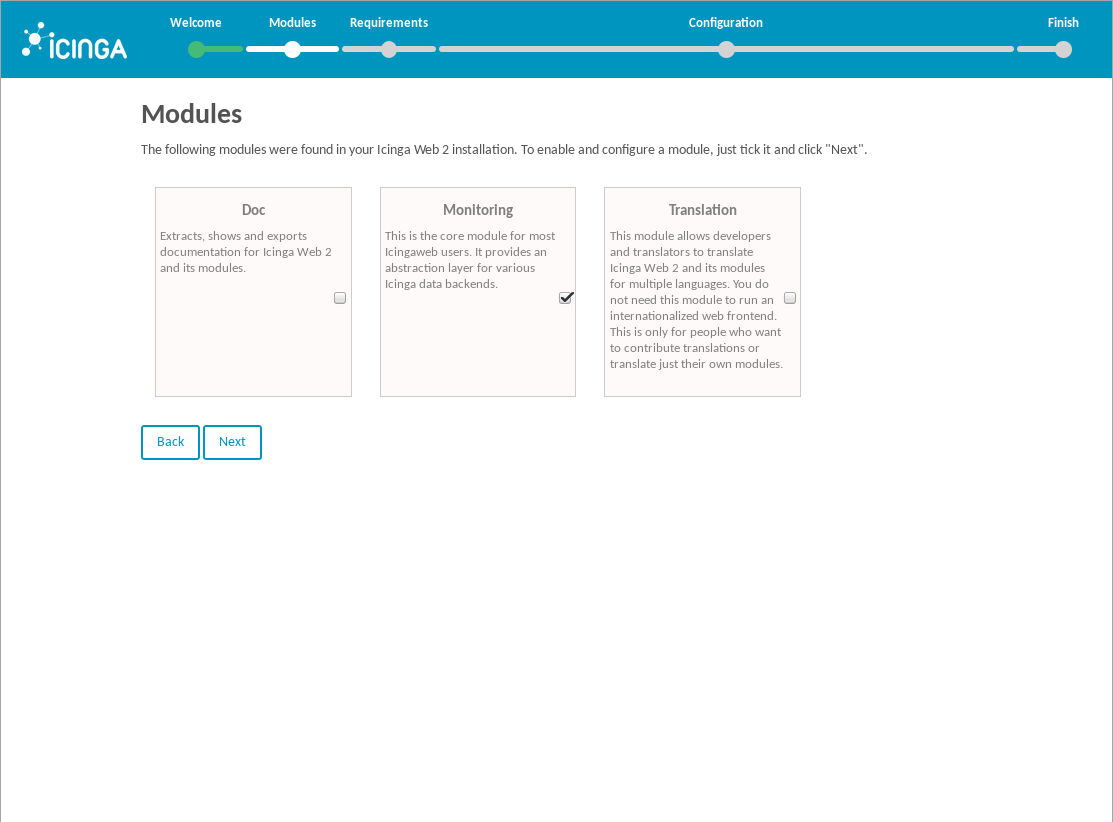
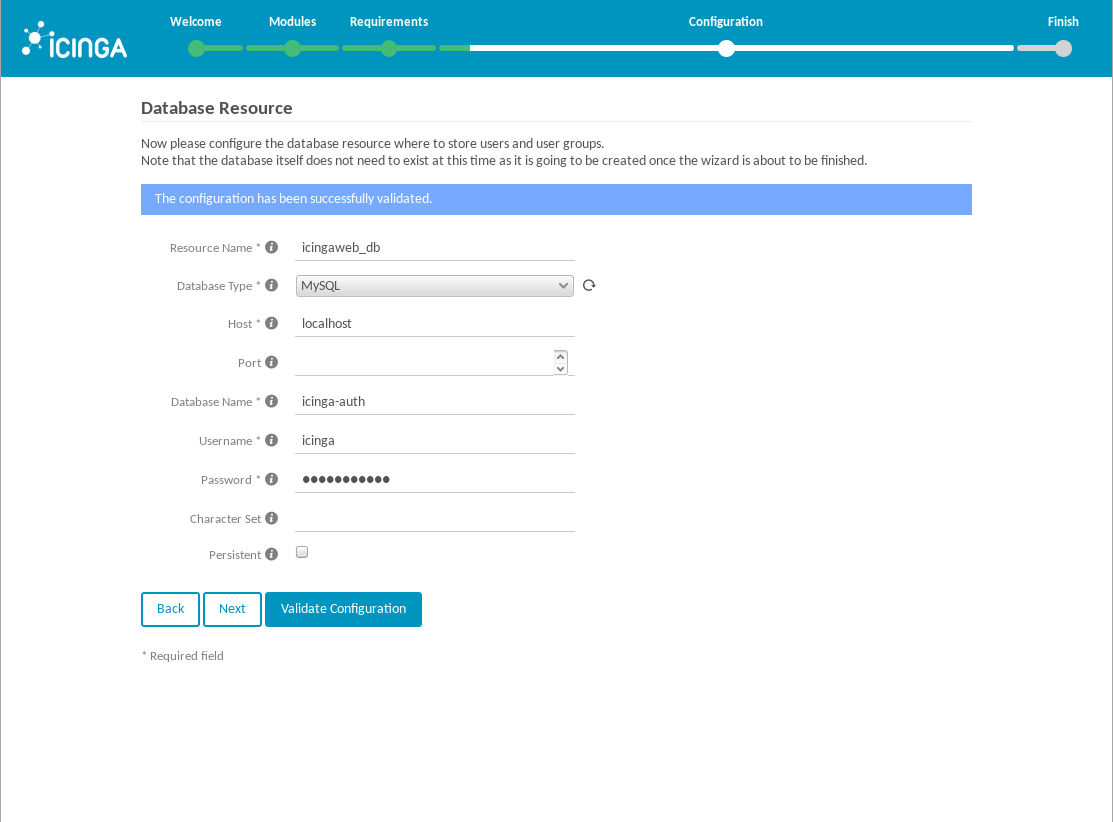
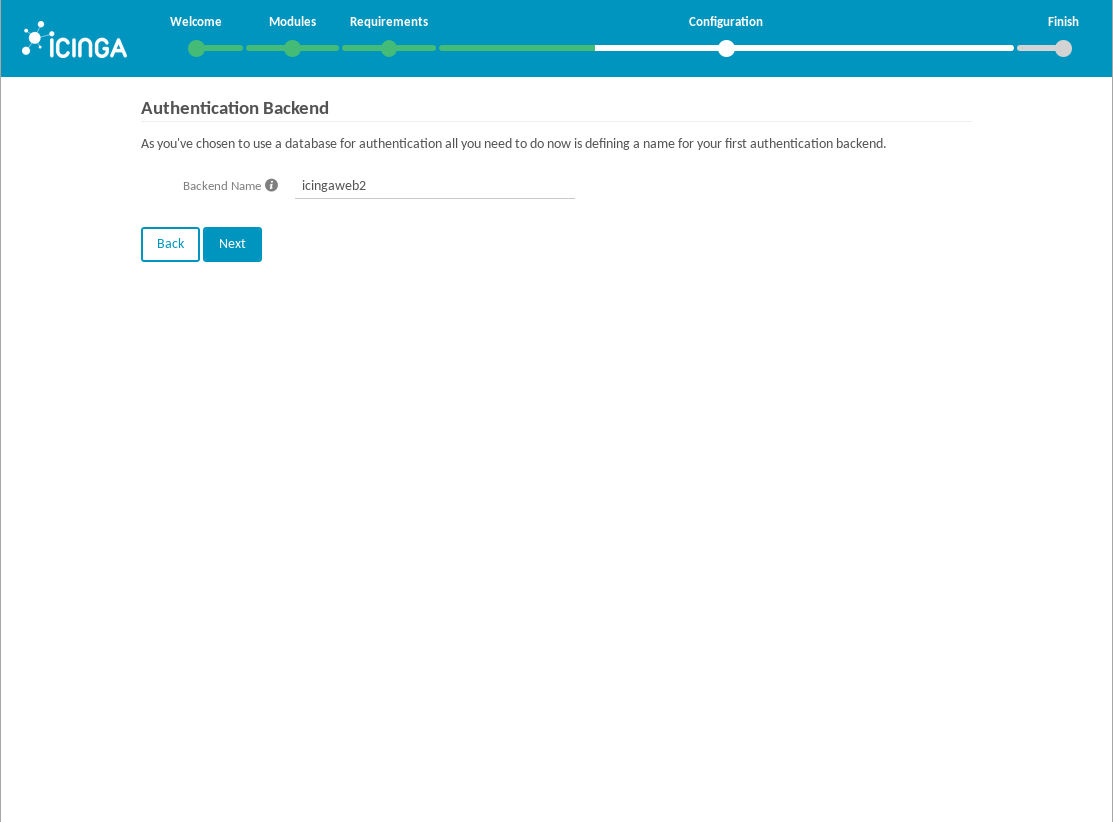
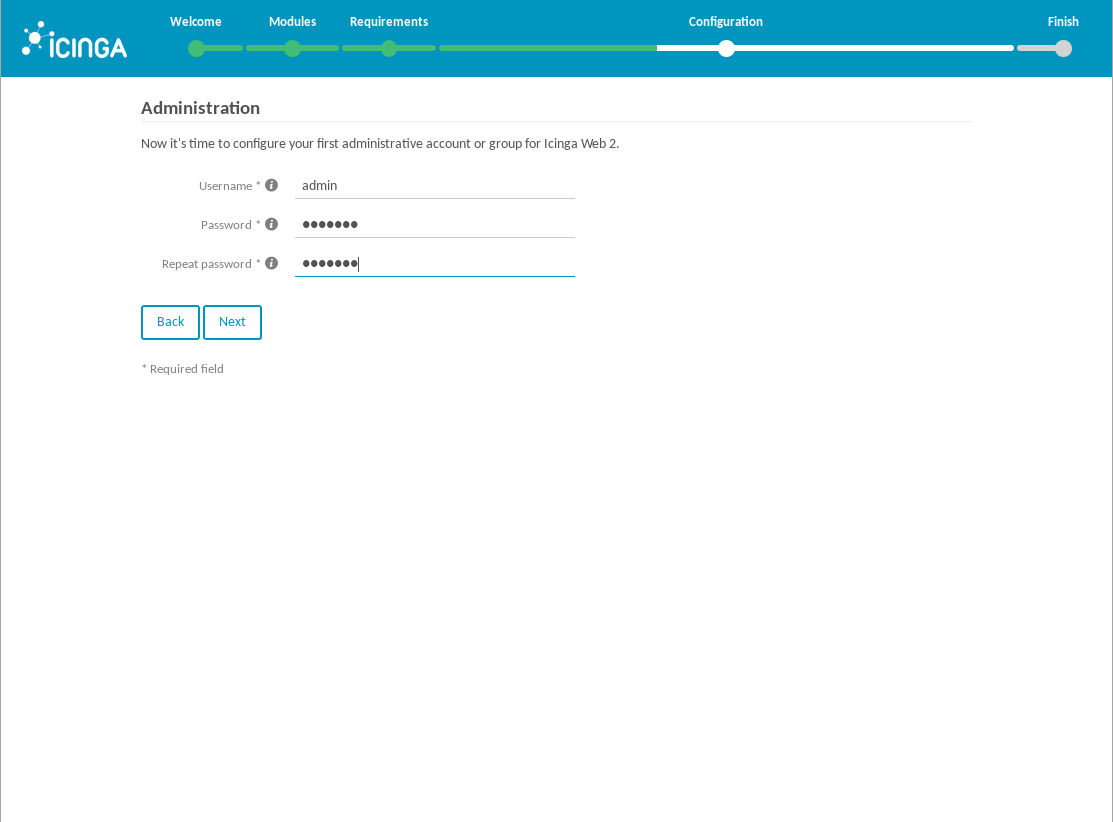
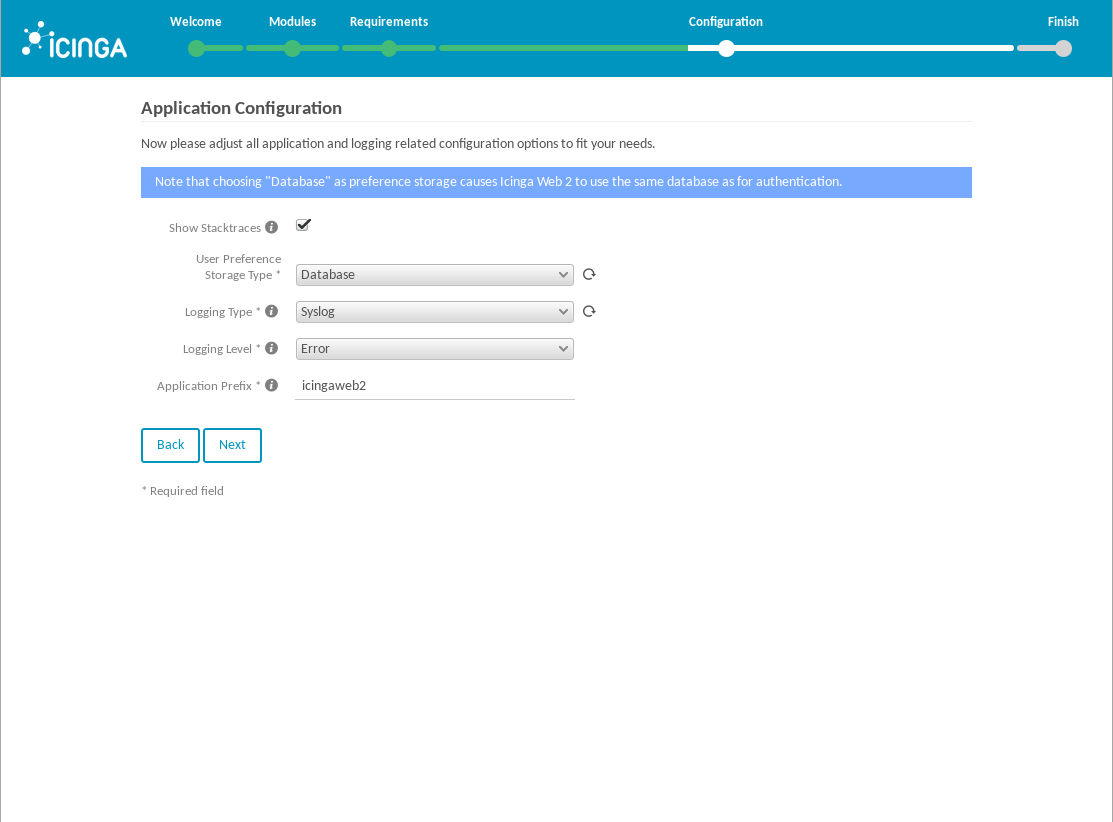
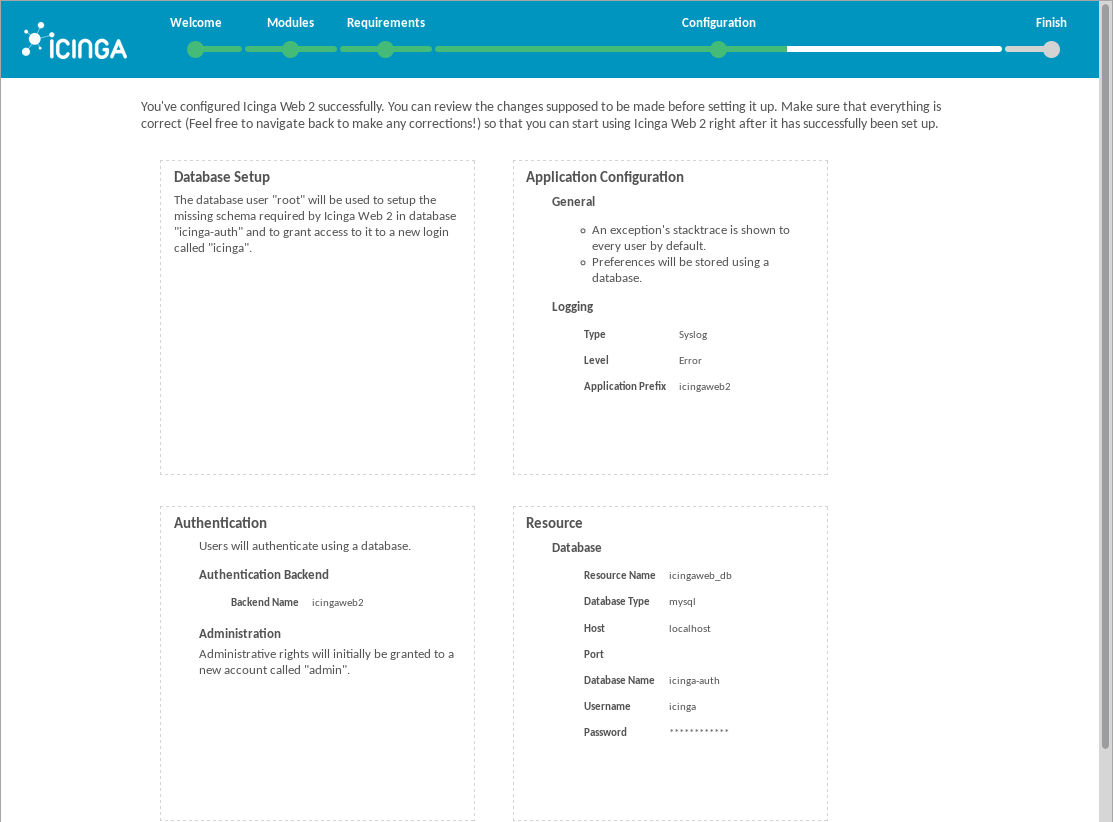
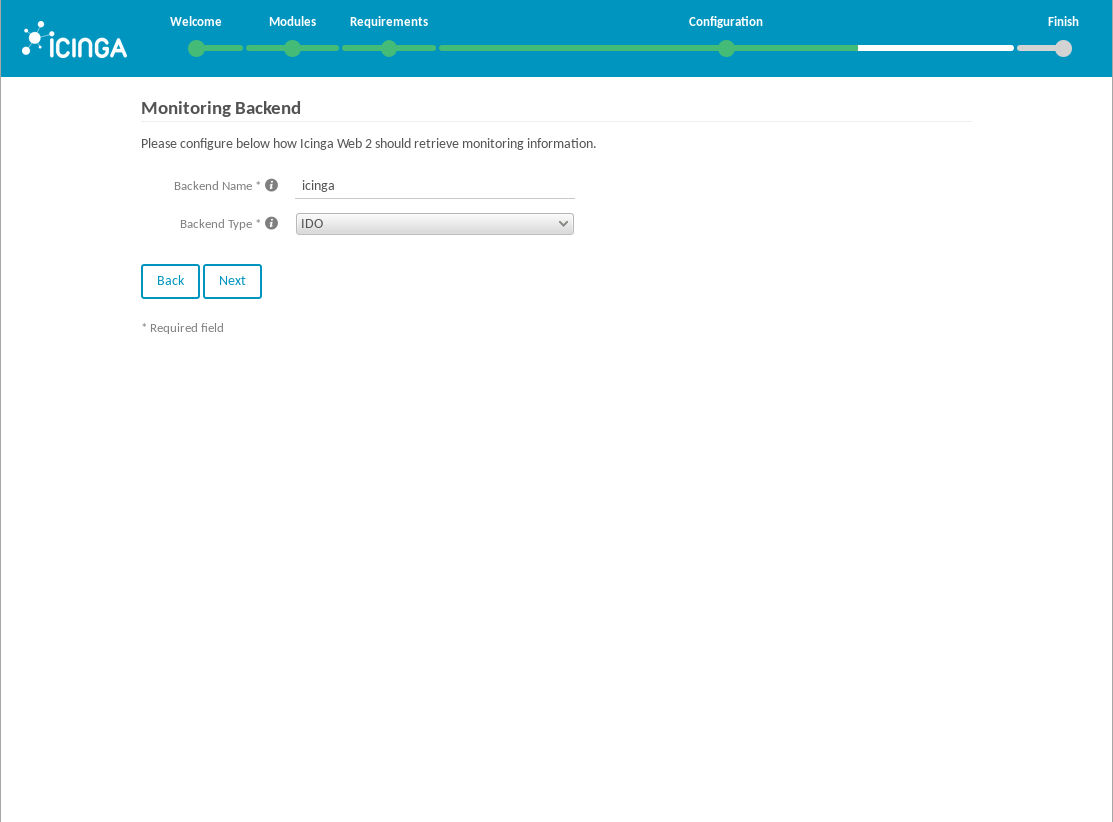
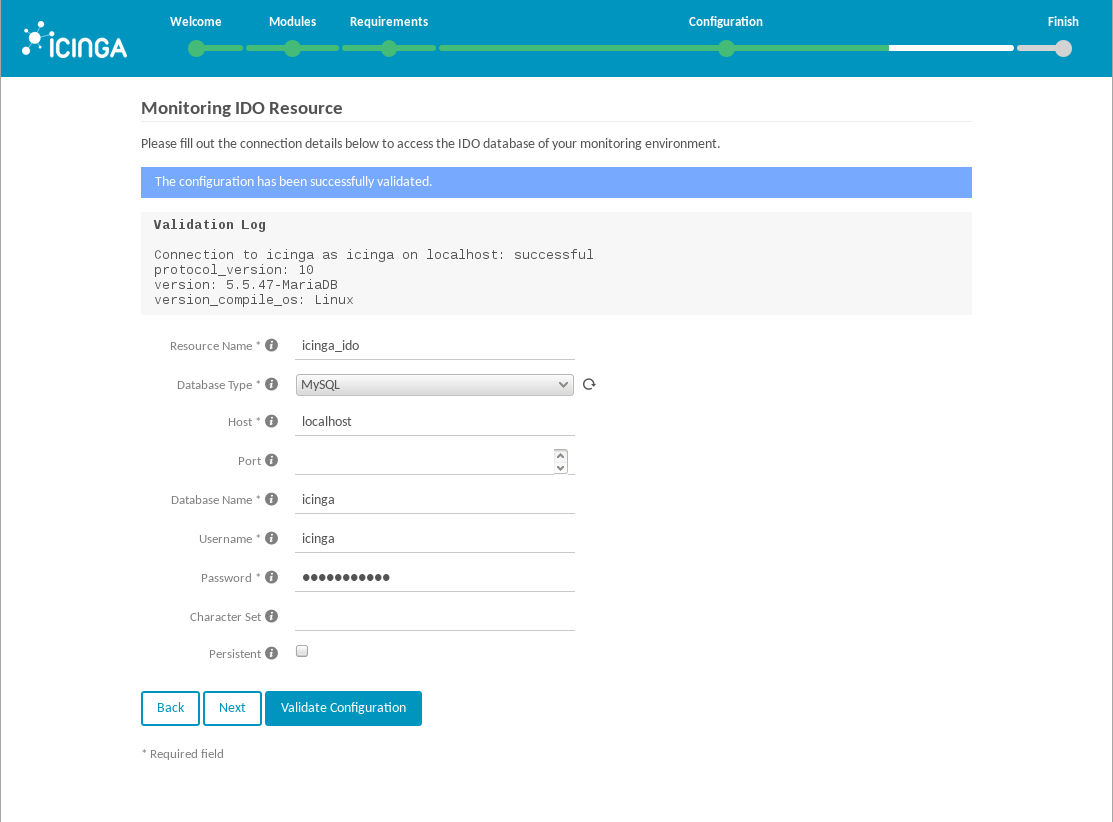
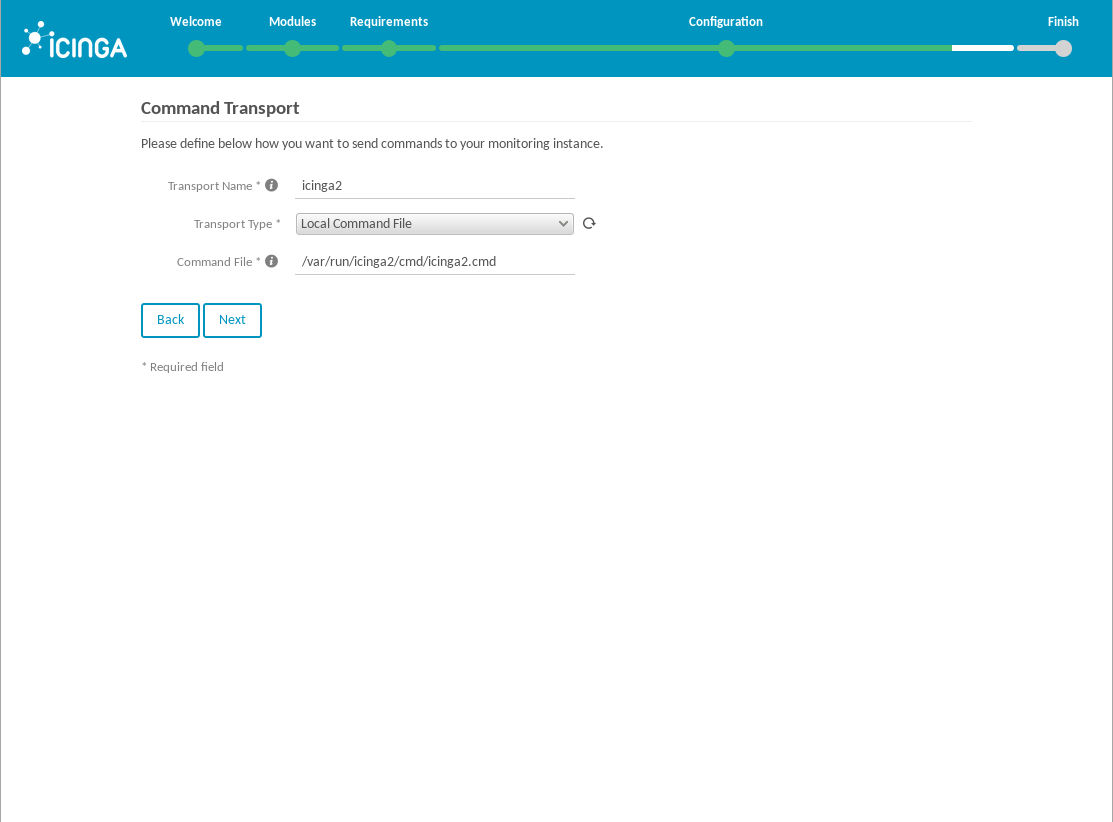
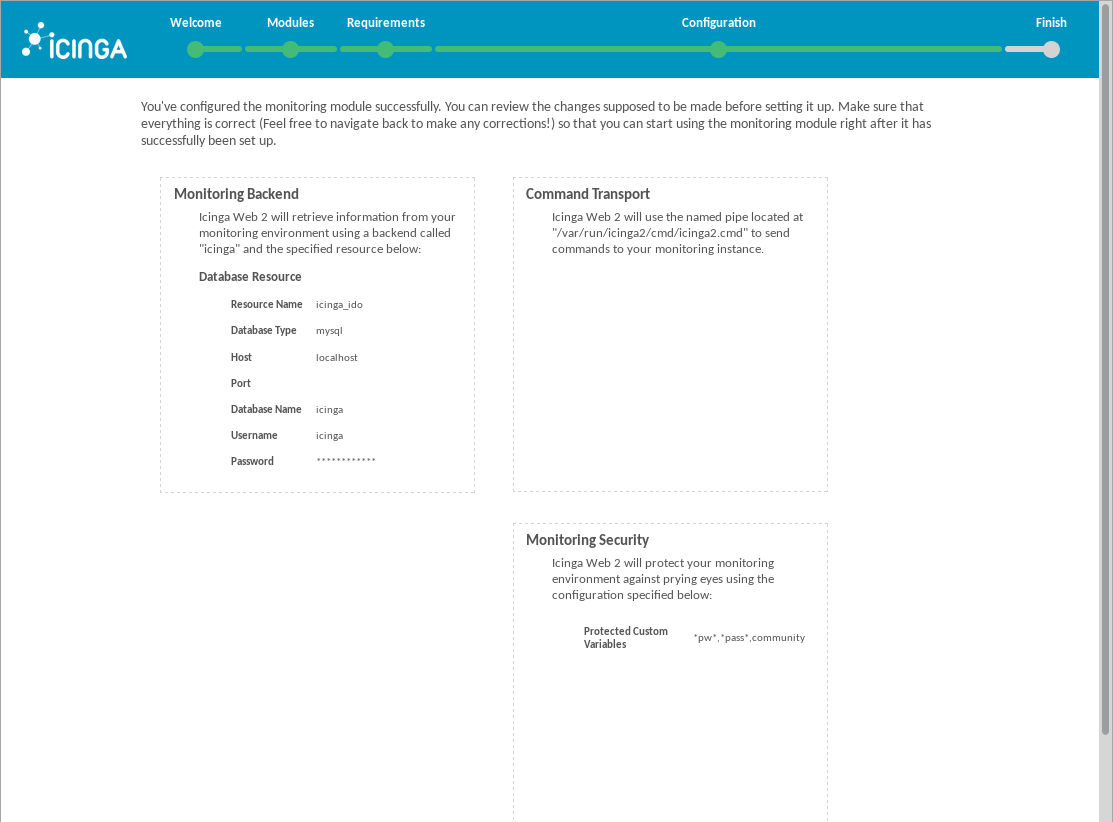
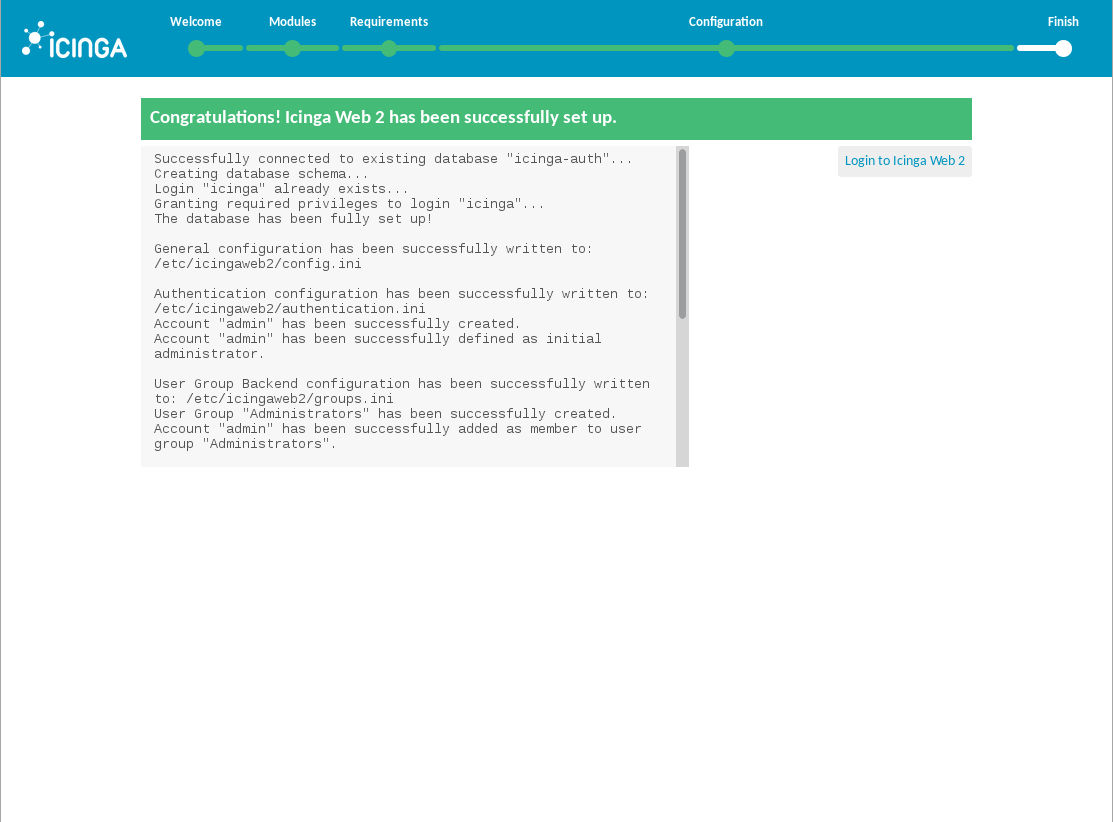
The installation assistant is kinda self-explanatory and proceeds with the following steps:
- Selecting authentication source (database or LDAP)
- Configuring the database resource
- Creating an administration account
- Configuring logging
- Configuring the IDO broker
Some screenshots of my installation:

Icinga Director
Icinga Director can be downloaded on GitHub. The source code needs to be extracted in the /usr/share/icingaweb2/modules directory. Ensure that the folder extracted from the archive is renamed to director - otherwise, bad things will happen:
1# cd /usr/share/icingaweb2/modules
2# wget https://github.com/Icinga/icingaweb2-module-director/archive/master.zip
3# unzip master.zip
4# mv icingaweb2-module-director-master director
5# restorecon -R director
Before enabling the module, a dedicated database including a user is created. It is also necessary to import a database schema:
1# mysql -u root -p
2mysql> CREATE DATABASE director CHARACTER SET 'utf8';
3mysql> GRANT ALL ON director.* TO 'director'@'localhost' IDENTIFIED BY '...';
4mysql> FLUSH PRIVILEGES;
5# mysql -u root -p director < /usr/share/icingaweb2/modules/director/schema/mysql.sql
Icinga Director utilizes the Icinga2 API feature, which needs to be enabled first. During this, certificates used for external applications to bind to Icinga2 are created:
1# setsebool -P httpd_can_network_connect 1
2# icinga2 api setup
It is necessary to create a API user with full privileges for Icinga Director. Those privileges are necessary as Icinga Director should be able to control the complete Icinga2 instance:
1# vi /etc/icinga2/conf.d/api-users.conf
2...
3object ApiUser "director" {
4        password = "xxx"
5        permissions = [ "*" ]
6}
7
8ESC ZZ
Afterwards, ensure to open TCP port 5665 and restart Icinga2:
1# system-config-firewall-tui
2# systemctl restart icinga2
The Icinga2 web interface is used in order to enable the module - to proceed, click Configuration > Modules > director > enable in the left menu.
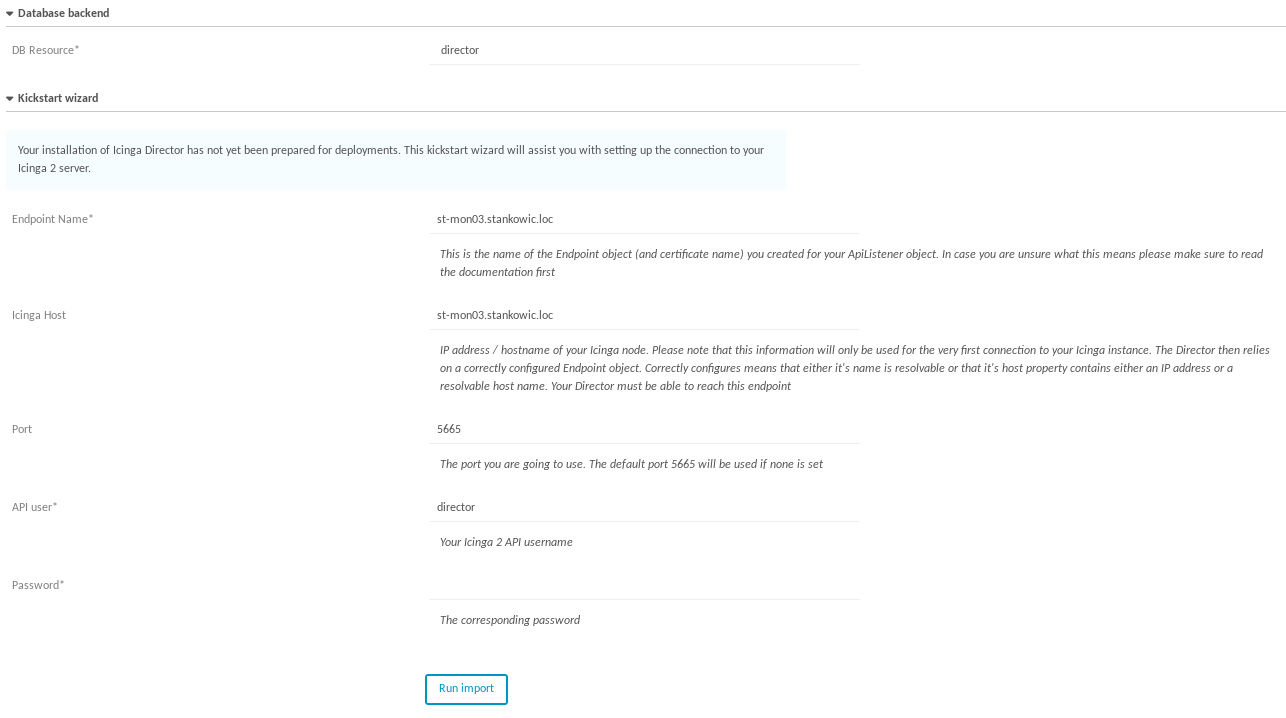
The next step is to start another installation assistent by clicking Icinga Director in the same menu. The assistant proceeds with the following steps:
- Configuring the database
- Selecting the Icinga2 host and API user
A screenshot of my installation:
There is only one thing missing: reproducing your infrastructure within Icinga2 - e.g. using Icinga Director! 🙂