vRealize Orchestrator for beginners, part 1: Introduction and installation
With this article, I'm starting a blog series I'm really excited about. It's all about VMware's vRealize Orchestrator (vRO) - a very might tool than can simplify a VMware administrator's workaday life heavily. 🙂
What is vRealize Orchestrator?
vRO is a utility for automating IT processes around virtual environments. It integrates seamlessly into the vSphere and vRealize/vCloud product family - beginning with the Standard Edition, it is part of vCenter Server (vC). vRO offers plenty of interfaces to third-party systems to also automate complex processes. To name some examples:
- Script languages and remote shells, such as PowerShell and SSH
- Web sockets and technologies, such as RESTful APIs, SOAP and XML
- Databases via JDBC and SQL
- E-mail transfers
- Microsoft Active Directory
- SNMP
In additional to that, VMware Solution Exchange is an online market for add-ons crafted by vendors and the community to extend the functionality of vRO.
But, what's the benefit of using vRO? Let's name an example, everybody knows - deploying new virtual machines. Normally, this process consists of numerous sub-steps that can be automated in a kind of list that is called workflow:
- Cloning a VM from a template under a new name
- Altering the network configuration (IP address, firewall rules,...)
- Generalizing the VM, e.g. using Microsoft Sysprep
- Registering the new host in a directory service, e.g. Microsoft Active Directory Services or OpenLDAP
- Installing patches, rebooting the system
- Installing required applications
- Configuring backup and monitoring
Depending on your infrastructure concept, this listed can be extended easily. A deployment like this took about 2 hours for my environment - after implementing automation using vRO, the same process lasts less than 30 minutes.
Architecture
vRO, which is mainly written in Java, mostly consists of the following components:
- Orchestrator database
- Workflow engine with numerous interfaces (e_.g. vCenter, XML, SSH, JDBC, SMTP,..._)
- Workflow library with about 500 pre-defined workflows and more than 400 actions
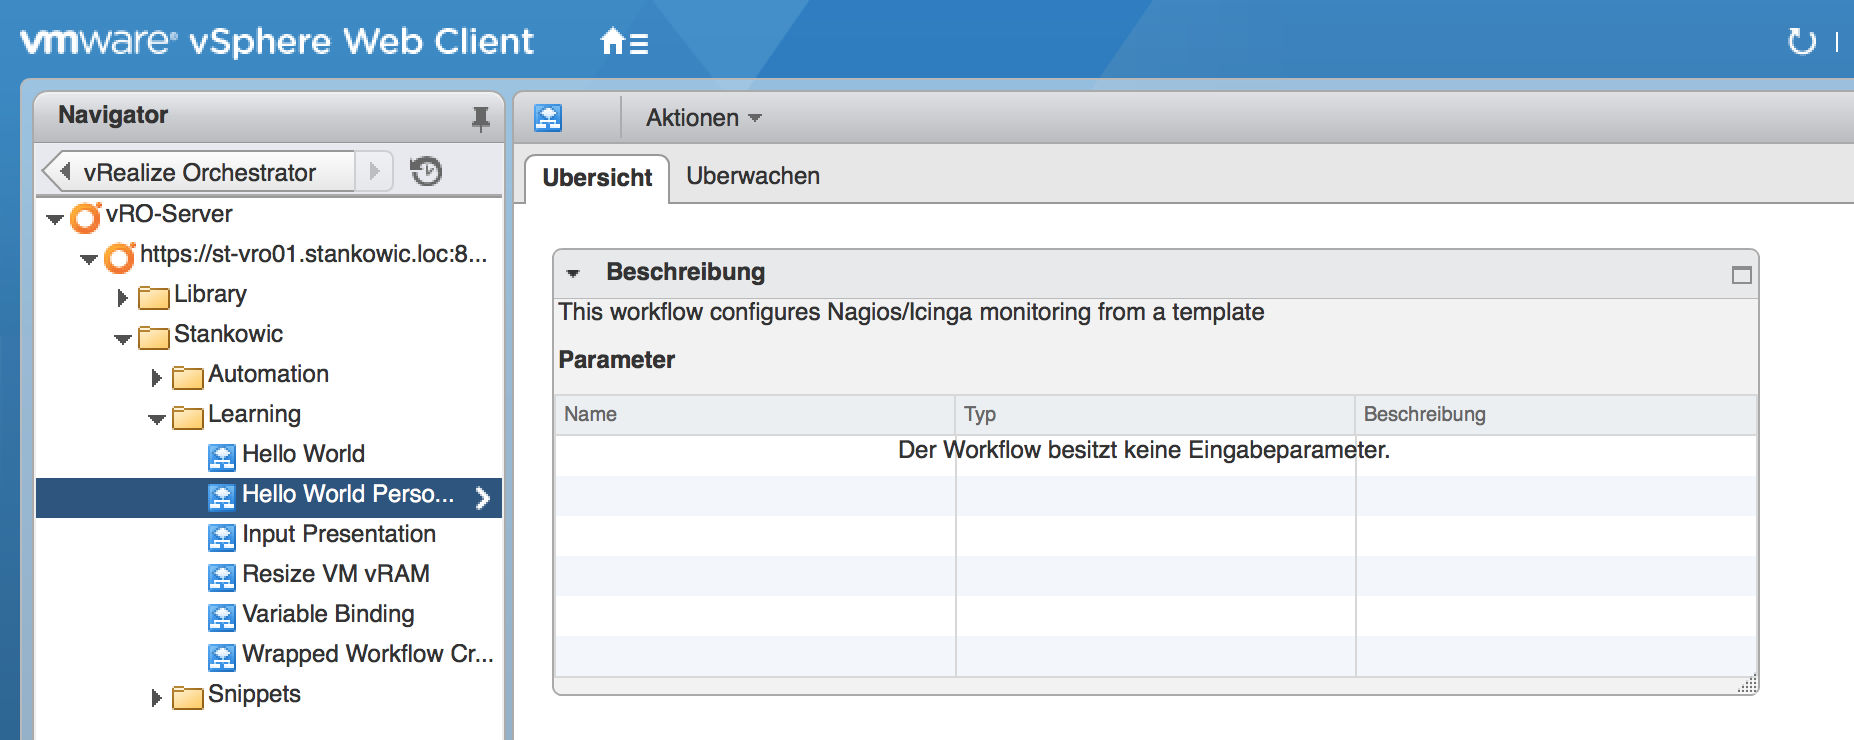
When using the vRO appliance, the vPostgreSQL database suitable for small and medium sized environments is used by default for storing data. Under Windows, it is also possible to use Oracle Database or Microsoft SQL Server - check out the Interoperability Matrix for detailed version information.
The Orchestrator functionality can be controlled by multiple ways:
- A Java applet
- A full-featured Java application for Microsoft Windows, Linux or OS X
- A vSphere Web Client plugin (limited functionality, running workflows)
Download and installation
vRO can be deployed using a software package for 64-bit Microsoft Windows Server or virtual Linux appliance (SUSE Linux Enterprise Server 11) for small and medium sized environments. I suggest going for the second approach to minimize license costs and administration effort. The vRO appliance is deployed just withing minutes and can be updated easily - and you can also save money for the Windows license. 🙂
The download is started using the VMware customer portal. Clicking View & Download Products and VMware vSphere will list all appropriate products, including vRealize Orchestrator and vRealize Orchestrator Appliance. Click Download Now or Download Manager to start the download.
System requirements
To use vRO ensure fulfilling the following requirements:
- 2 vCPUs
- 4 GB memory
- 12 GB hard drive
- 64-bit Microsoft Windows Server (or the vRO Appliance)
It is also possible to have a look at the VMware Product Interoperability Matrix to ensure that the vRO and vC versions are compatible. In the lab you will often have the most recent program versions - which is not usual for production environments. 🙂
Installation
I'm assuming that you are using the most recent vRO version 7.x. To deploy the appliance, the following steps need to be executed:
- Creating a DNS forward and reverse lookup. Like for other appliances, it is essential that the hostname can be resolved in both directions.
- Provisioning the OVF template. The downloaded OVF template needs to be deployed on a ESXi host - e.g. using vSphere Web Client. Beside the hostname, a computing resource (e_.g. cluster_) and a datastore, a valid network needs to be selected. Before provisioning, an IP address, a gateway, a subnet mask and DNS servers need to be specified.
- Powering on the VM after provisioning, if this did not happen automatically.
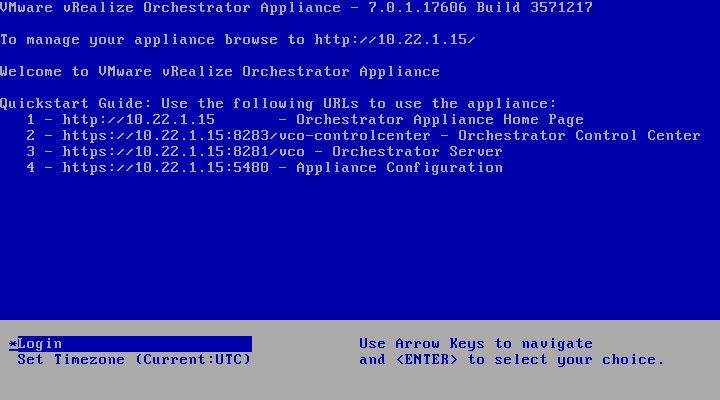
After the first boot, the appliance should be accessible over the network - the console should look like this:
Configuration
After deployment, it is advisable to install all available updates for the appliance. For this, access to the configuration interface is needed, check-out the URL https://
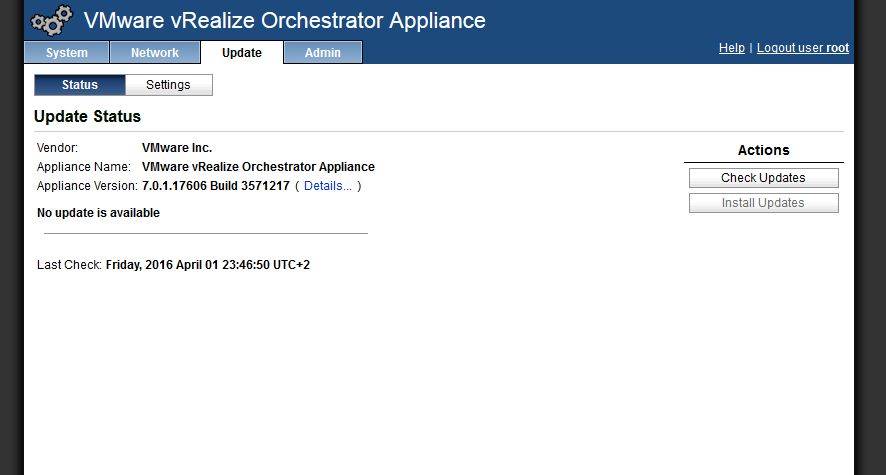
Afterwards, the vRO appliance needs to be linked with vC - this process consists of two sub-steps. The first step is to ensure that vRO uses vC for authentication and optionally also licensing. The next step is to register vC as object inside vRO. For the first step, we will need access to the Orchestrator Control Center using the followingURL https://
Enter root as user name, the password was defined using the installation.
In the overview, select the Manage pane and click Configure Authentication Provider. To ensure authentication using SSO, enter the following information:
- Authentication mode: vSphere
- Host address: vCenter Server FQDN
- Admin group: SSO group
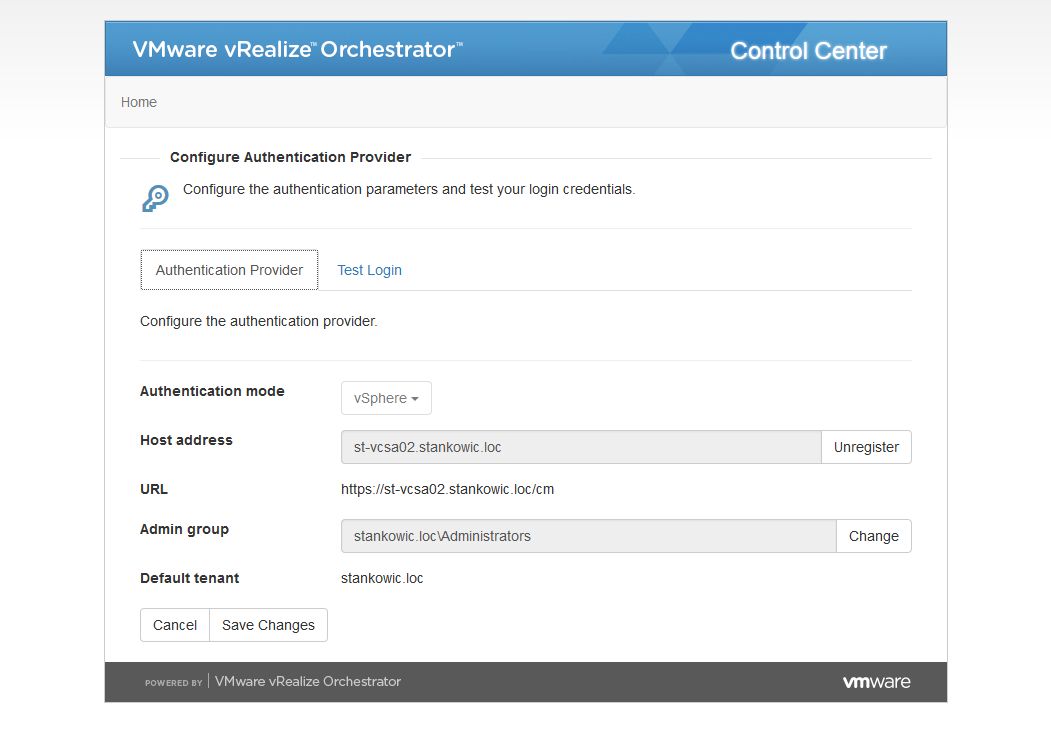
If all information have been entered correctly, the Authentication Provider is displayed inside the Control Center after restarting the vRO services. By clicking "Test Login" you can check whether a particular user has administrative permissions in vRO. This can be very useful if you want to check whether you have chosen the correct SSO group in bigger environments:
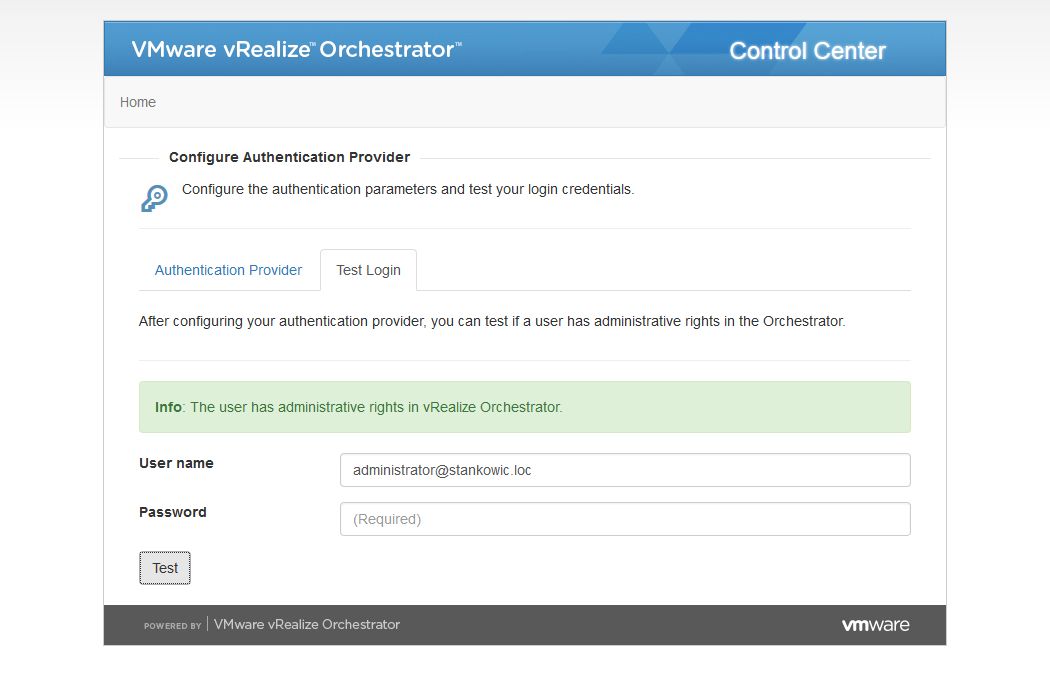
If this step was also successful, vC needs to be added as instance in vRO to ensure that vRO can be controlled using the vSphere Web Client - it will also give vRO access to all vC contents. For this configuration a workflow is available - the first workflow that is executed on the new vRO system. 🙂
For this task you will need a vRO client - the following URL starts an Java applet: https://
Alternatively, the vRO server home page also lists installable client packages for Microsoft Windows, Linux and Mac OS X: https://
In the client overview, multiple views can be accessed on the left. By clicking the blue icon, pre-defined workflows can be accessed. We will have a deeper look at the particular user interface components in a later party of this blog series. Clicking Library > vCenter > Configuration > Add a vCenter Server instance will start the workflow for registering vC. vC connection information need to be entered in the dialog that is displayed. If you are using a self-signed SSL certificate (default), make sure to select Yes for "Do you want to ignore certificate warnings?".
In the next step, you will need to enter a administrative user. If you don't want to specify the SSO administrator, you can also define a dedicated service user.

Clicking Submit will start the workflow - hopefully it will finish with the completed status:
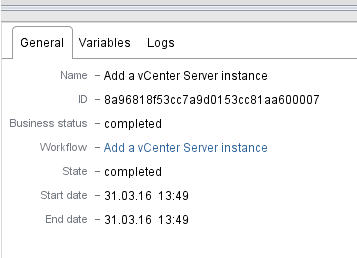
This finishes the installation and configuration of vRO. In the next article of this series, we will focus on the vRO user interface and also create first workflows.